

I saw this great tutorial on tinting mason jars using food coloring and mod podge, and decided to give it a try. Instead of a mason jar, I used an clean, empty olive jar.

I started by making sure my jar was completely clean and dry. Using a ramekin, I mixed one drop of blue food coloring with approximately 1 tablespoon of mod podge and a tiny amount of water. (You don't need the paint brush to mix - you can use whatever you want.)


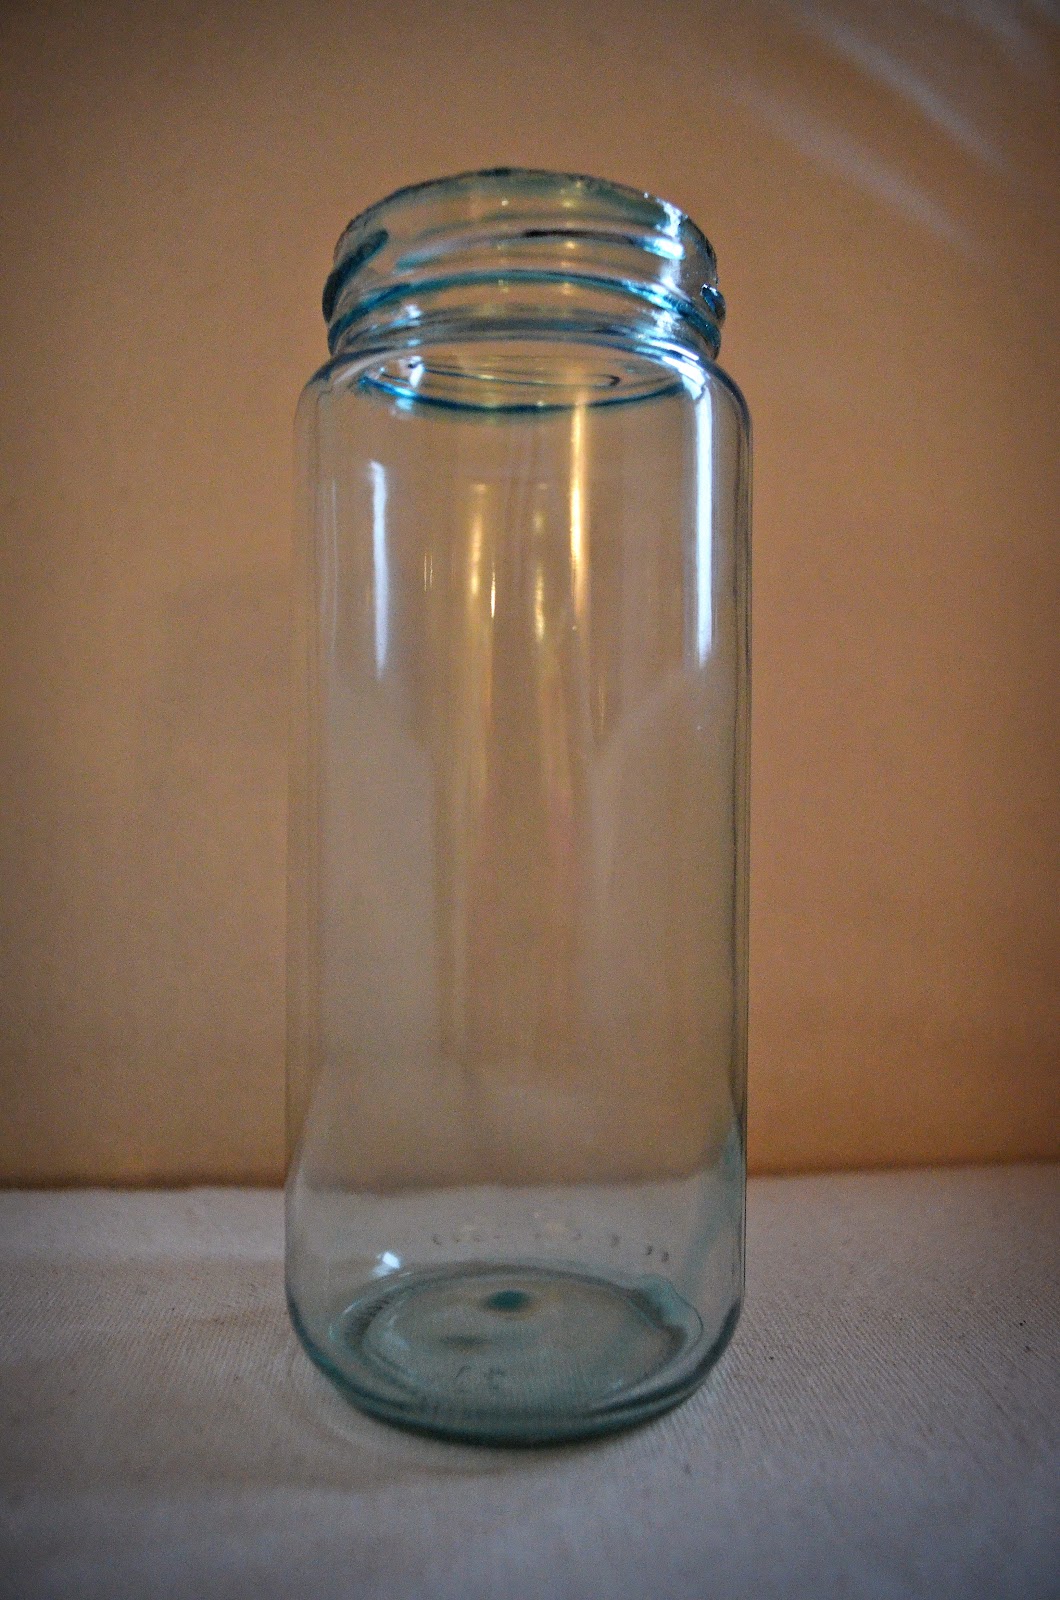
Once mixed, I dumped the ramekin contents into the empty jar and rotated the jar so the inside was completely coated with colored mod podge.


I placed the wet jar upside down on wax paper to let it drip dry for approximately 30 minutes. You may need more or less time for this step depending on how thick your mod podge coating is.


Next, I placed the upside down mason jar on a fresh sheet of wax paper in the oven, which was preheated to "warm."
I left the jar in the oven until all the mod podge was dry and the jar was clear. This took approximately an hour, but will vary depending on the thickness of your mod podge. Once it was clear, I flipped the jar over to be right side up and let it stay in the oven for another ten minutes.

Here's my blue-tinted jar!

Now for the fun part...
I wanted my jar to have an image on it, so I used the mod podge transfer technique.

I used this image from the Graphics Fairy. I opened the image in Photoshop and reversed it so that it would be right once transferred (fork on the left, spoon on the right). I printed my image on my ink jet printer, and had it copied on a LASER machine. Unfortunately, ink jet images don't transfer correctly. You need to use a laser printer or copier if you want to do this mod podge transfer method.
Next, I cut my image out very close to the edge so there would be little "white space."
Next, I cut my image out very close to the edge so there would be little "white space."

I coated the image and the side of the jar with mod podge, and stuck the image to the jar. I let it dry for several hours (you may want to let it dry overnight, but I wasn't that patient :))

Once dry, I used a paper towel to wet the image, and I began carefully rubbing the paper off. You have to be extremely patient and gentle so that you don't rub your image off as well! (This happened to a couple of my fork prongs, which had to be reattached.)
I don't know if you have ever made a wine glass sing by gently rubbing your wet finger over the rim of the glass, but this is basically the same idea in terms of pressure applied - except there is no singing involved ;)
Once all the paper was removed, I let the image dry. When it is dry, you may find that there are pieces of paper that still need to be removed. Just re-wet and rub some more.
When I was satisfied with the results, I cleaned up the outer parts of the glass and gently scraped the excess mod podge off the glass between the utensils.
Then I added some twine. Here's the final product! I may use this as a vase, but I'm not sure yet. I am wary about putting water into a mod podge-coated container as it might dissolve the mod podge over time. If that happens, I'll let you know!

Linking up at
Crafty, Scrappy, Happy
Fireflies and Jellybeans
Alderberry Hill
French Country Cottage
Rustic Crafts & Chic Decor
The Graphics Fairy
Linking up at
Crafty, Scrappy, Happy
Fireflies and Jellybeans
Alderberry Hill
French Country Cottage
Rustic Crafts & Chic Decor
The Graphics Fairy


Lovely project, Sarah! Thanks for sharing.
ReplyDeleteThanks so much! Glad you like it :)
DeleteThis is a super cool idea!
ReplyDeleteI started a new link party just for rustic, recycled and chic projects. I would love to have you share this - http://rustic-crafts.com/?p=5569
So cute! I love this!!
ReplyDeleteI'm glad you like it!
DeleteThanks for sharing this great tutorial ~ I love the blue tinted mason jars, but have mostly clear. Now I can transform them :) Also love the transfer tips. I was wondering if you used a laser or ink jet printer? Thanks for sharing!
ReplyDeleteHi Megan,
DeleteGreat question. I should clarify in the post :) I used a LASER printer - a copy machine, to be exact. I started with the downloaded image from Graphics Fairy, reversed it in Photoshop, printed it on my ink jet at home, and then took it to a laser copy machine. Hope that clarifies!
Sarah
Lovely and so inspiring!
ReplyDeleteThank you!
DeletePerfect tutorial! Thanks and it came out great! Good luck on your studies too!
ReplyDeleteThanks so much, Molly!
DeleteAbsolutely FABULOUS!!
ReplyDeleteThanks for linking this project to my party! I hope to see more of your projects - http://rustic-crafts.com/?p=5878 :)
ReplyDeleteSuper pomysł ,bardzo ładny słoiczek pozdrawiam z pięknych mazur pa!!!!
ReplyDeleteHi Sarah
ReplyDeleteGreat crafty project! Love the utensil transfers. I am your newest follower and have also pinned this idea! Would love for you to come over and browse my blog. I am a huge Mod Podge addict.
http://altered-artworks.blogspot.com
Thank you for this. Great tutorial. My Mom and I used to use Mod Podge all the time back in the 70's. It's really made a big comeback. Just found your blog today. Can't remember how I got here! Are you from the U.K. and working in Albany, NY? My son was born in Albany Medical nicu 29 years ago. They were wonderful. Hope you'll check out my blog. www.dreamingofdiy.com
ReplyDeleteHi Kathleen! Thank you for the lovely compliment! I am glad you found this tutorial helpful. I am actually from Seattle, Washington, but live in Albany NY for medical school. I'll be moving in May, but the location is still to be determined because our residency "match day" isn't until the end of March. Exciting about your Albany Med connection! I love the NICU... might be going into neonatology as a career!
DeleteI am so excited and happy you shared this. Thank you so much for your wonderful idea. You have just solved my dilemma for a project I'm doing. ☺
ReplyDeleteYou're welcome, Jesia! Hope your project turns out - would love to see it!
DeleteWhat if you applied the Mod Podge to the outside of the jar initially? Would you still be able to apply the image to the outside? It would certainly solve the problem of keeping water on the inside.
ReplyDeleteHey! Would it be a safe idea to tint jars this way and make candles in them? Will the heat of the burning candle disrupt the tint?
ReplyDeleteGlass Jars usually have openings large enough to fit your hands in, you can use these as storage small items like sewing materials. These can be filled with buttons, needles, thimbles or threads. Just be sure to place the jars in a safe place to avoid breaking them.
ReplyDeleteConcerning a short while ago going your site, the information you actually give on this site includes made it simpler for people considerably. With thanks to get your complete time frame & deliver the results.
ReplyDeletePhoenix Arizona