Friday, February 24, 2012

DIY Tinted Glass Jar + Mod Podge Image Transfer

Friday, February 24, 2012


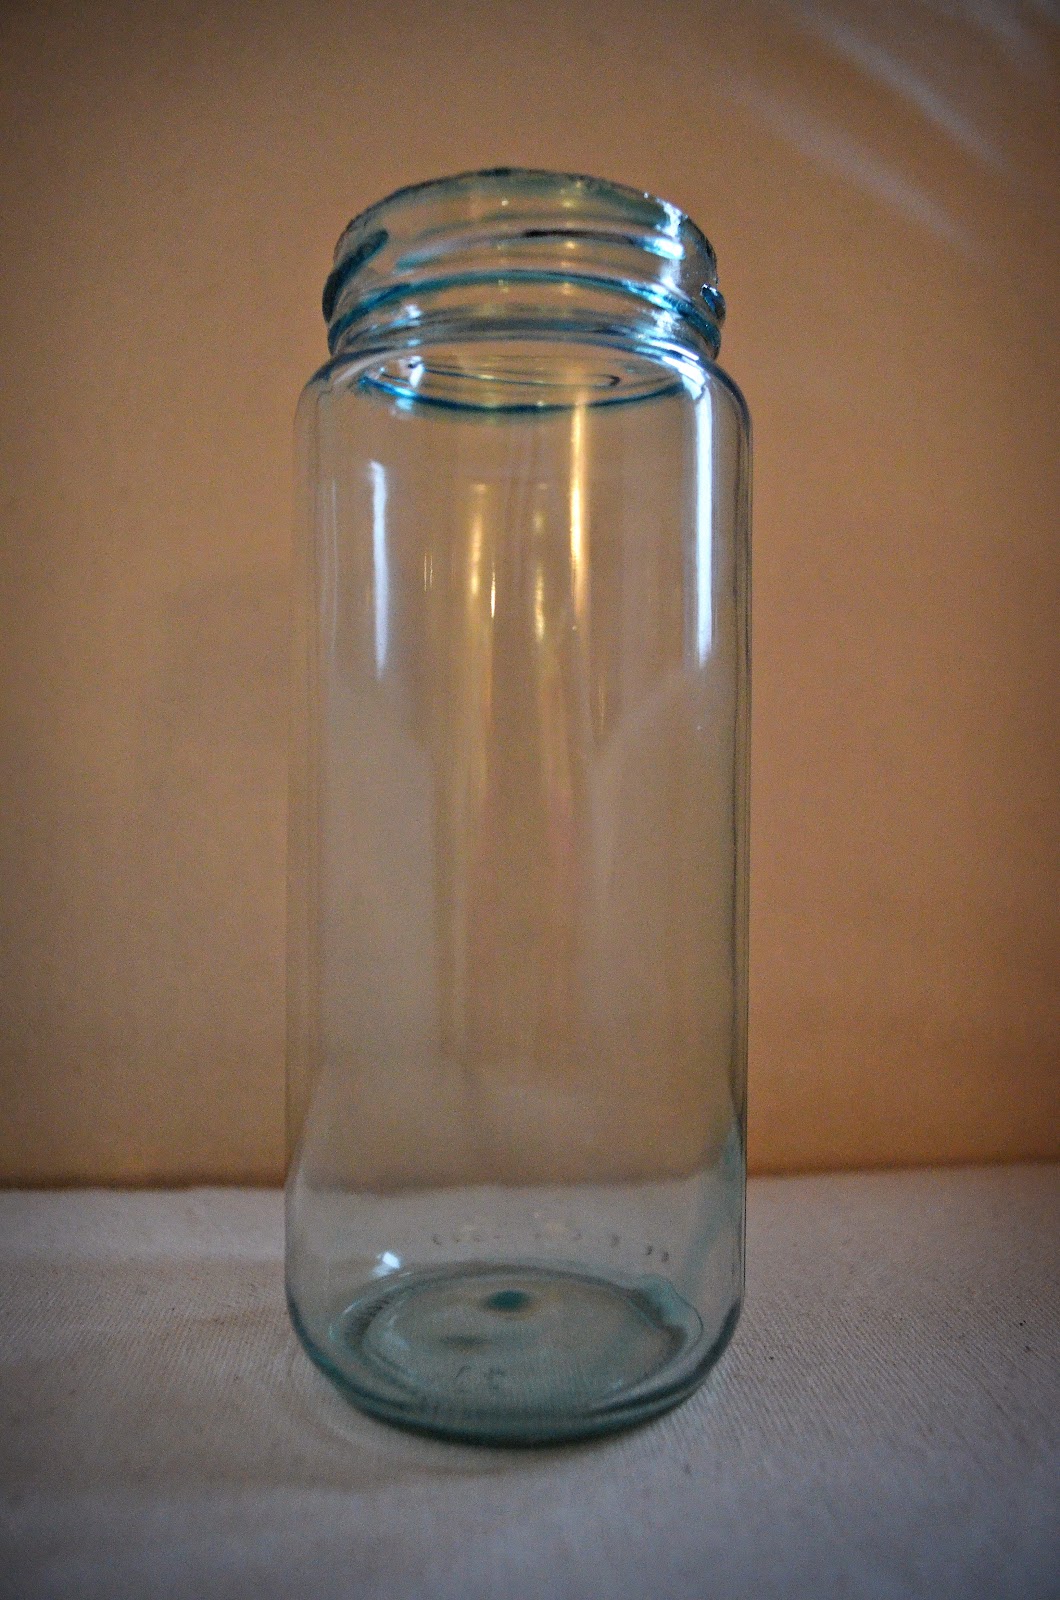
I saw this great tutorial on tinting mason jars using food coloring and mod podge, and decided to give it a try. Instead of a mason jar, I used an clean, empty olive jar.


I started by making sure my jar was completely clean and dry. Using a ramekin, I mixed one drop of blue food coloring with approximately 1 tablespoon of mod podge and a tiny amount of water. (You don't need the paint brush to mix - you can use whatever you want.)


Once mixed, I dumped the ramekin contents into the empty jar and rotated the jar so the inside was completely coated with colored mod podge.


I placed the wet jar upside down on wax paper to let it drip dry for approximately 30 minutes. You may need more or less time for this step depending on how thick your mod podge coating is.


Next, I placed the upside down mason jar on a fresh sheet of wax paper in the oven, which was preheated to "warm."

I left the jar in the oven until all the mod podge was dry and the jar was clear. This took approximately an hour, but will vary depending on the thickness of your mod podge. Once it was clear, I flipped the jar over to be right side up and let it stay in the oven for another ten minutes.


Here's my blue-tinted jar!


Now for the fun part...

I wanted my jar to have an image on it, so I used the mod podge transfer technique.


I used this image from the Graphics Fairy. I opened the image in Photoshop and reversed it so that it would be right once transferred (fork on the left, spoon on the right). I printed my image on my ink jet printer, and had it copied on a LASER machine. Unfortunately, ink jet images don't transfer correctly. You need to use a laser printer or copier if you want to do this mod podge transfer method.

Next, I cut my image out very close to the edge so there would be little "white space."


I coated the image and the side of the jar with mod podge, and stuck the image to the jar. I let it dry for several hours (you may want to let it dry overnight, but I wasn't that patient :))


Once dry, I used a paper towel to wet the image, and I began carefully rubbing the paper off. You have to be extremely patient and gentle so that you don't rub your image off as well! (This happened to a couple of my fork prongs, which had to be reattached.) 

I don't know if you have ever made a wine glass sing by gently rubbing your wet finger over the rim of the glass, but this is basically the same idea in terms of pressure applied - except there is no singing involved ;)

Once all the paper was removed, I let the image dry. When it is dry, you may find that there are pieces of paper that still need to be removed. Just re-wet and rub some more.

When I was satisfied with the results, I cleaned up the outer parts of the glass and gently scraped the excess mod podge off the glass between the utensils.


Then I added some twine. Here's the final product! I may use this as a vase, but I'm not sure yet. I am wary about putting water into a mod podge-coated container as it might dissolve the mod podge over time. If that happens, I'll let you know!


Linking up at
Crafty, Scrappy, Happy
Fireflies and Jellybeans
Alderberry Hill
French Country Cottage
Rustic Crafts & Chic Decor
The Graphics Fairy

Thursday, February 16, 2012

Chalkboard Paint Projects!

Thursday, February 16, 2012
I know pretty much everyone in blogland is somewhat obsessed with chalkboards, so I figured I'd jump on the bandwagon. :)


I purchased some chalkboard paint from Lowe's and some tagboard from Target to begin...

There are many tutorials on how to turn a picture frame into a chalkboard by painting the glass with chalkboard paint, but then you can't ever use the frame as a normal picture frame again. Not wanting to limit my options for the future, I decided to paint a piece of black tagboard with chalkboard paint, and place it on top of the glass in the frame. If I decide I'm in the mood for a quick change-up, I don't have to go buy a new frame, I can just take out the painted tagboard!


I used the mat that fit inside the frame as my sizing reference. Then I cut out a piece of tagboard that would fit inside the frame.


Next, I placed my cut piece of tagboard on a plastic garbage bag and painted the entire thing with two coats of chalkboard paint, letting it dry for about 30 minutes between coats.


I used heavy items to hold down the corners and keep them from folding up as the paint dried.
When it was completely dry, I put it in the frame - on TOP of the glass.

Then I "primed" the chalkboard by rubbing white chalk over the entire thing and wiping it off with a very slightly damp cloth.


My plan was to use this chalkboard frame as a modified picture frame that could actually display photos, so I began phase two of the project...


{PHASE TWO}

I had an 8x10 black frame that I wanted to paint and distress. When it comes to vintage distressed items, I really love all the chalk paint out there, but it is kind of expensive and I only needed a little bit, so I made my own version.

I shaved about a teaspoon of regular chalk and mixed it with my white and blue acrylic craft paint. I added a few drops of water to get the consistency of the paint right. Mixing chalk into paint will make it quite thick and difficult to work with.


Once I had my consistency right, I painted the entire frame and let it dry. Then I used sandpaper to carefully remove paint from some of the raised edges of the frame.


Once I was happy with the results, I attached the painted frame to the center of my chalkboard frame with a lot of painters tape (that awesome blue tape that doesn't leave any residue when you remove it). We'll see how long it actually stays attached, but it seems to be holding quite well for now!

I grabbed a 4 x 6 photo of the hubby and me, and blue taped that inside the 8 x 10 frame. Then I added some chalk and hung it back on the wall! The great thing about a chalkboard frame is the ability to erase and be as creative with your art as you want. SO many possibilities!


Once I finished the frame, I decided that I might as well chalkboard paint some other things... 

This candle, for instance... not sure what would happen if I tried to actually light the candle (which I won't be doing)!


I used some of the leftover tagboard to make labels for our canisters.


Chalkboard paint is incredible. It has opened up so many new possibilities for art and creativity! Looking forward to more chalkboard paint projects in the future!

**Update: Since this song has been stuck in my head for the last day, I decided to change the chalkboard frame to the lyrics from Robin Hood's "Love." I love Disney classics! 


Linking up at


Wednesday, February 8, 2012

"If Music Be The Food Of Love, Sing On"

Wednesday, February 8, 2012
I love that quote. I also love the song. We sang it in high school, and it has become one of my favorite choral pieces. Since Valentine's Day is right around the corner, and because I love this song, I made a little graphic that could be used for a Valentine or other card, or whatever you want! The music background is from none other than The Graphics Fairy


The lyrics to the song are below, again with a music graphic from Graphics Fairy.


Feel free to use the images that I create for your own projects, just link back to my original blog post. Thanks!


Friday, February 3, 2012

Vintage Fancy Chair Coasters

Friday, February 3, 2012
While browsing the incredible graphics at The Graphic Fairy, I stumbled upon these adorable vintage chair graphics and decided to use them for a coaster project.

I started with four coasters that already had. I measured the diameter so I knew how big my graphic needed to be. Using Photoshop, I imported both the chair photo and this frame image from The Graphics Fairy.

After playing around with dimensions and adding some text, I ended up with these four images:


I printed them out on regular computer paper, cut around the edge, and mod podged them onto the coaster surface.


Then I painted the gold edges with a light blue paint, let it dry, and rubbed some off to distress it a bit.


After everything dried, I covered the coasters with two coats of clear acrylic paint sealer.


Click here for a PDF template of the four coasters.
Feel free to use the images that I create for your own projects, just link back to my original blog post. Thanks!

That's it! Super easy, thanks to The Graphics Fairy!


Linking up at: 


Related Posts Plugin for WordPress, Blogger...