Saturday, September 29, 2012

Musical Pumpkin

Saturday, September 29, 2012
Well, I have successfully completed my 12 week internal medicine rotation and am enjoying my first official "free weekend" since school started in early July. Naturally, I have spent this extra free time getting crafty! For a quick and fun fall project, I pulled out my mod podge, some sheet music from the Graphics Fairy, and a little pumpkin from Target.


I was inspired by this pumpkin from Pottery Barn, and I decided to create my own using sheet music instead of newsprint.


I found this image from the Graphics fairy and printed it three times. Then I cut it into strips using my paper cutter.


Next, I mod podged the strips onto the pumpkin using a paint brush and my fingers. I wasn't too particular about smoothing all the wrinkles because I liked the added texture.


Once it was dry, I covered the stem with some twine and hot-glued it to the top.


Simple, easy, musical pumpkin!


Linking up at


Thursday, September 20, 2012

Simple Bow Tote

Thursday, September 20, 2012
Hello!
I hope you are having a lovely end to your summer and are getting excited for autumn! For a fun project, I made a simple bow tote to match my bow clutch.


I followed the instructions provided in this tutorial, but made some modifications to personalize it for my own needs. She really does a wonderful job explaining her steps!


For my fabric, I used the same neutral canvas and polka dot lining as I did for the clutch.


I also painted my canvas fabric with blue fabric paint to match the clutch.


The modifications I made included increasing the dimensions of the bag slightly, sewing two inside pockets, securing the flaps with buttons, and using two straps instead of one. I liked the idea of a yin yang shape, but decided the pockets and extra strap would be more practical for school and other uses.


I used orange and white buttons to close the pockets using the little yin yang flaps already part of the original design. 


The two straps are made of saddle string. I measured them to size and attached them with rivets. Unfortunately, I don't have a rivet hole punch, but I was able to use a mini screw driver to create holes that the rivets would fit into. (If you are going to use rivets, I definitely recommend getting a hole punch because it will go much faster!)


That's it! Honestly, I love how it turned out. The bag itself is light weight and durable. It holds my tablet for school as well as my little clutch, keys, pens, phone, and other little things in the pockets.


Let me know what you think!


Linking up at


Saturday, September 8, 2012

Sushi Making with the Little Sis

Saturday, September 8, 2012
Hello Friends! This post is very overdue.... I've started my third year of medical school and it's super busy! I'm loving my three month internal medicine rotation, but I'm finding that there is hardly any time left over between 6 days a week in the hospital for 12 hours a day, church, and time with the hubby. Still, I'm going to do my best to try and keep up! Thanks for understanding!!

Over my brief summer break, Andrew and I traveled back to Seattle to spend time with family. We also visited my grandparents at Priest Lake in Idaho (my most favorite place in the entire world). While there, my little sister Lisa and I decided it would be fun to make sushi. Let me just say, we've never made sushi before, but we volunteered to make dinner for the whole fam, so the pressure was on.... Fortunately for us, it was so easy and turned out great! The family loved it, and we had a super fun time preparing dinner together!


Here's how we made our sushi:

Supplies:

Bamboo sushi mat (you can find these at most Asian markets)
Saran wrap to cover your sushi mat
Bowl of water to rinse your hands while rolling
Bowl of rice vinegar

Ingredients:

3-4 cups sushi rice, cooked as package indicates
10 Nori seaweed sheets
10 Imitation crab meat sticks/blocks, cut in half length wise
1 avocado, peeled and sliced thinly, lengthwise
1 cucumber, peeled and sliced thinly, lengthwise into matchstick thick pieces
1 carrot (optional), peeled and sliced thinly, lengthwise into matchstick thick pieces
Wasabi paste
Soy sauce

(*we also made sushi rolls with smoked salmon and cream cheese instead of the imitation crab. You can also use sesame seeds, but the ones in the spice cupboard at the cabin were from the 1980's... so we omitted this step.)

Steps:

  1. Cover sushi mat with saran wrap on both sides. This helps the rice not stick while you make your roll.
  2. Place all ingredients on a cutting board or plates on your work surface so you can assemble quickly.
                 
                     
  3. Cut/break seaweed sheets in half (if you want fatter/thicker rolls, don't do this step)
  4. Place seaweed on half of the sushi mat closest to you.
  5. Dip your fingers in the bowl of water and spread some sushi rice evenly over your seaweed. It can be tricky because the rice is sticky, but the water helps quite a bit. (Notice Lisa's sticky fingers... and her lovely nail polish ;) gotta love summer!)

                     
  6. Dip your fingers in the bowl of rice vinegar and dab the top of the rice.

                                     
  7. Once your seaweed is covered with the rice, flip the entire seaweed/rice over so that the seaweed side is toward you and the rice is on top of the saran wrap.
  8. Place all your ingredients onto the seaweed, starting at the edge closest to you.


  9. Roll your sushi, using the bamboo sushi mat. As you start rolling, press firmly along the entire roll to make it tight. Lift up on the mat as you roll, and continue rolling/pressing until you have rolled it into a complete sushi roll. It sounds complicated, but it's not... check out the pictures below, or check out some great videos online :)


    10.  Wrap up the sushi roll in some saran wrap until you are ready to cut and serve.
    11.  Proceed with making all the rest of the rolls. 


Feel free to mix up ingredients. We made a variation of the California roll... we're calling ours the Priest Lake roll. We also used some smoked salmon and cream cheese to make another variety. So fun and so tasty!

(Of note, Lisa and I, being musicians, made up a song about our sushi making. It is sung to the tune of "Bamboo" by Peter Paul and Mary... if you'd like to know the lyrics to our tune, let me know and I'll see what I can do...)


Here's the recipe as a JPEG to print:

Saturday, August 4, 2012

Jewelry Holder Picture Frame

Saturday, August 4, 2012
I like necklaces, but I'm not very good at accessorizing. Since I've started my 3rd year of medical school, the most prominent accessory around my neck is my stethoscope. Still, I figured that if I had a better way of actually seeing the necklaces I own, I might be more likely to wear them. 


I picked up a picture frame from Christmas Tree shops, some wood knobs from Lowes, grabbed some scrap fabric and paint from my craft box, and got to work!

This project was really quick! First, I painted the front of the knobs with some light blue paint. Then I took out the glass and covered the back of the picture frame with the fabric. Next I used a drill to make three holes and attached the knobs. Then I used some painters tape to keep the fabric attached to the back of the frame. (This is probably not necessary, but I did it anyway.) Finally, I hung some necklaces and put a hair clip in the corner. That's it!


Much better way to display and utilize necklaces... plus, the fabric matches our bedroom curtains!


Linking up at


Sunday, July 22, 2012

Black Lace Clutch

Sunday, July 22, 2012
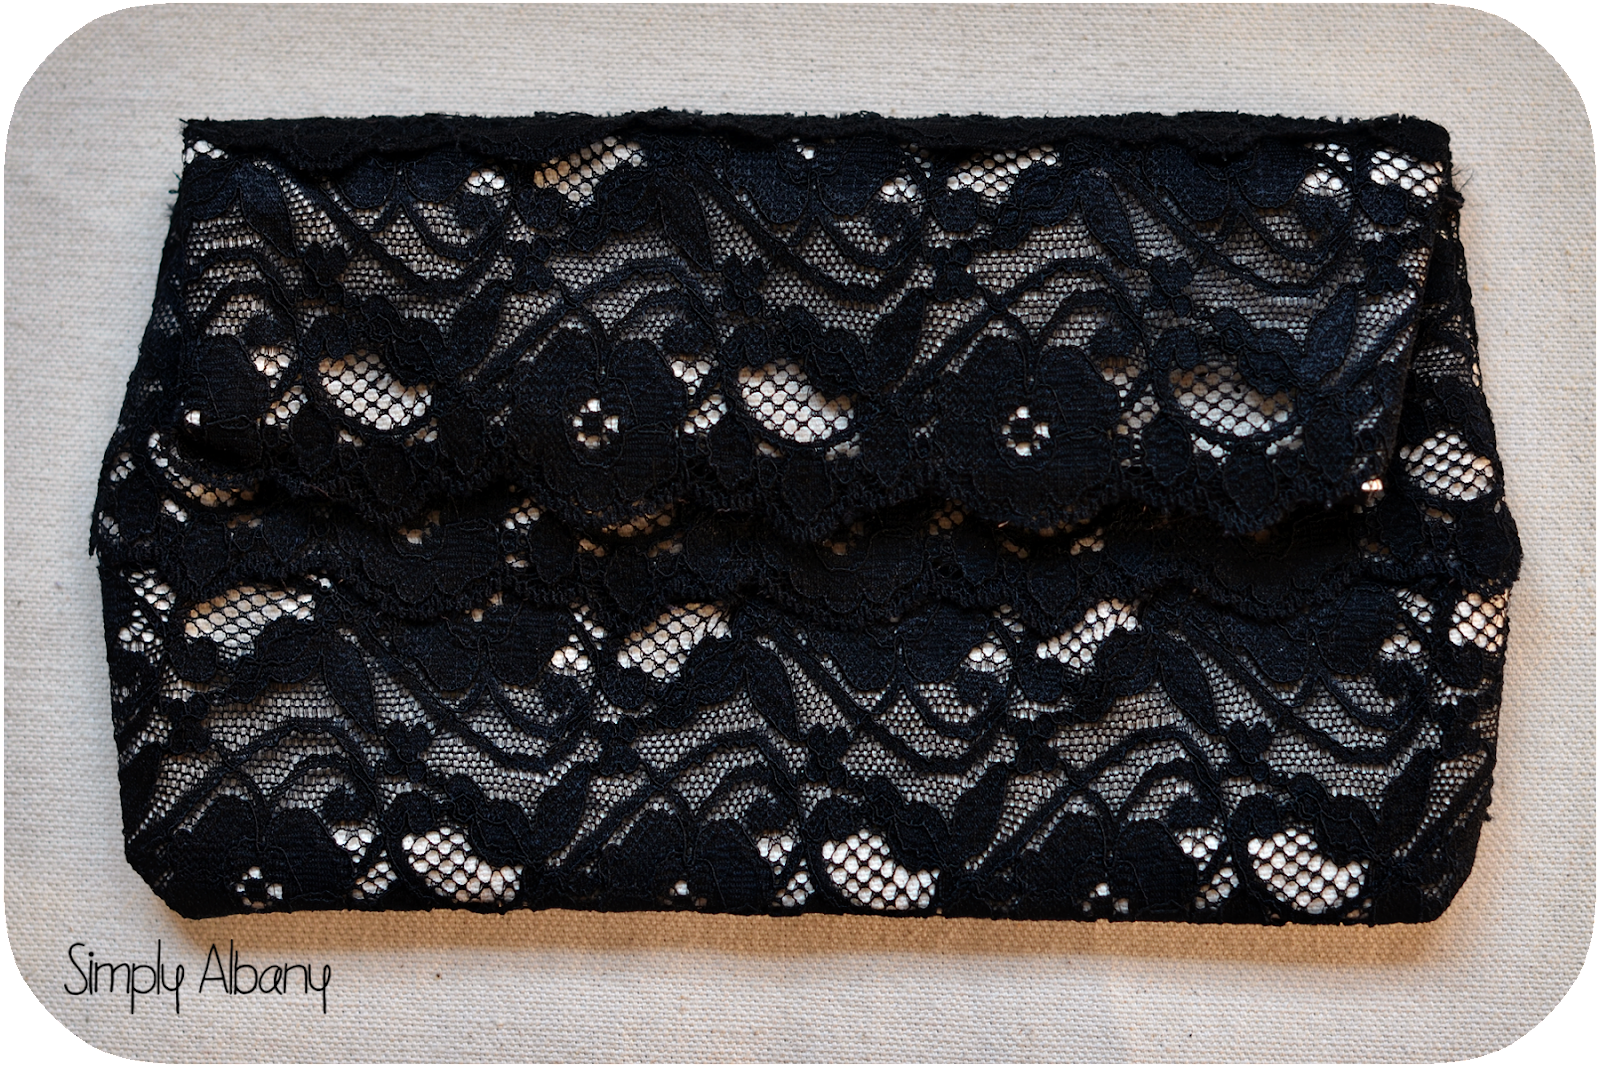
After success with Amanda's tutorial for her bow tie clutch (my take on it here), I decided to make a lace clutch. I used the lace trim from an old tank top, sewn on top of some solid canvas.


I started by cutting the outer and lining fabrics into two 10 x 10 inch squares and two11 x 5 inch rectangles (one each for lining and outer fabric, approximate sizes).


Next, I sewed the lace trim onto the outer fabric in overlapping strips. (Like my purple nails? For some reason, I'm really loving the pastel nail colors!)


Then, I sewed the two outer fabric pieces together, inside out, rounding the edges, and trimming the extra fabric. (Pardon my sewing skills... I'm working on them!)


I turned it right side out so I could see how it was coming together


Next, I stitched a little pocket only my lining fabric. I don't know about you, but I often find it helpful to have a pocket for cash or cards. It helps keep things organized.


I stitched the lining fabric with right sides together into the clutch shape as I did for the outer fabric. I left a hole along one of the sides so that I could turn the entire clutch inside out once sewn together.

Then, I turned my outer fabric inside out again, and pinned my lining fabric inside, with right sides together. (See pictures below).


I folded the lace up on the top of the flap part so that it wouldn't get sewn to the lining.


I stitched all the way around where the lining and outer fabric came together. Then, I turned the clutch right side out, through the little hole.


I stitched the hole together and folded/pushed the lining into the clutch.


Finally, I hand stitched two snaps onto the top flap and the front, under the lace.


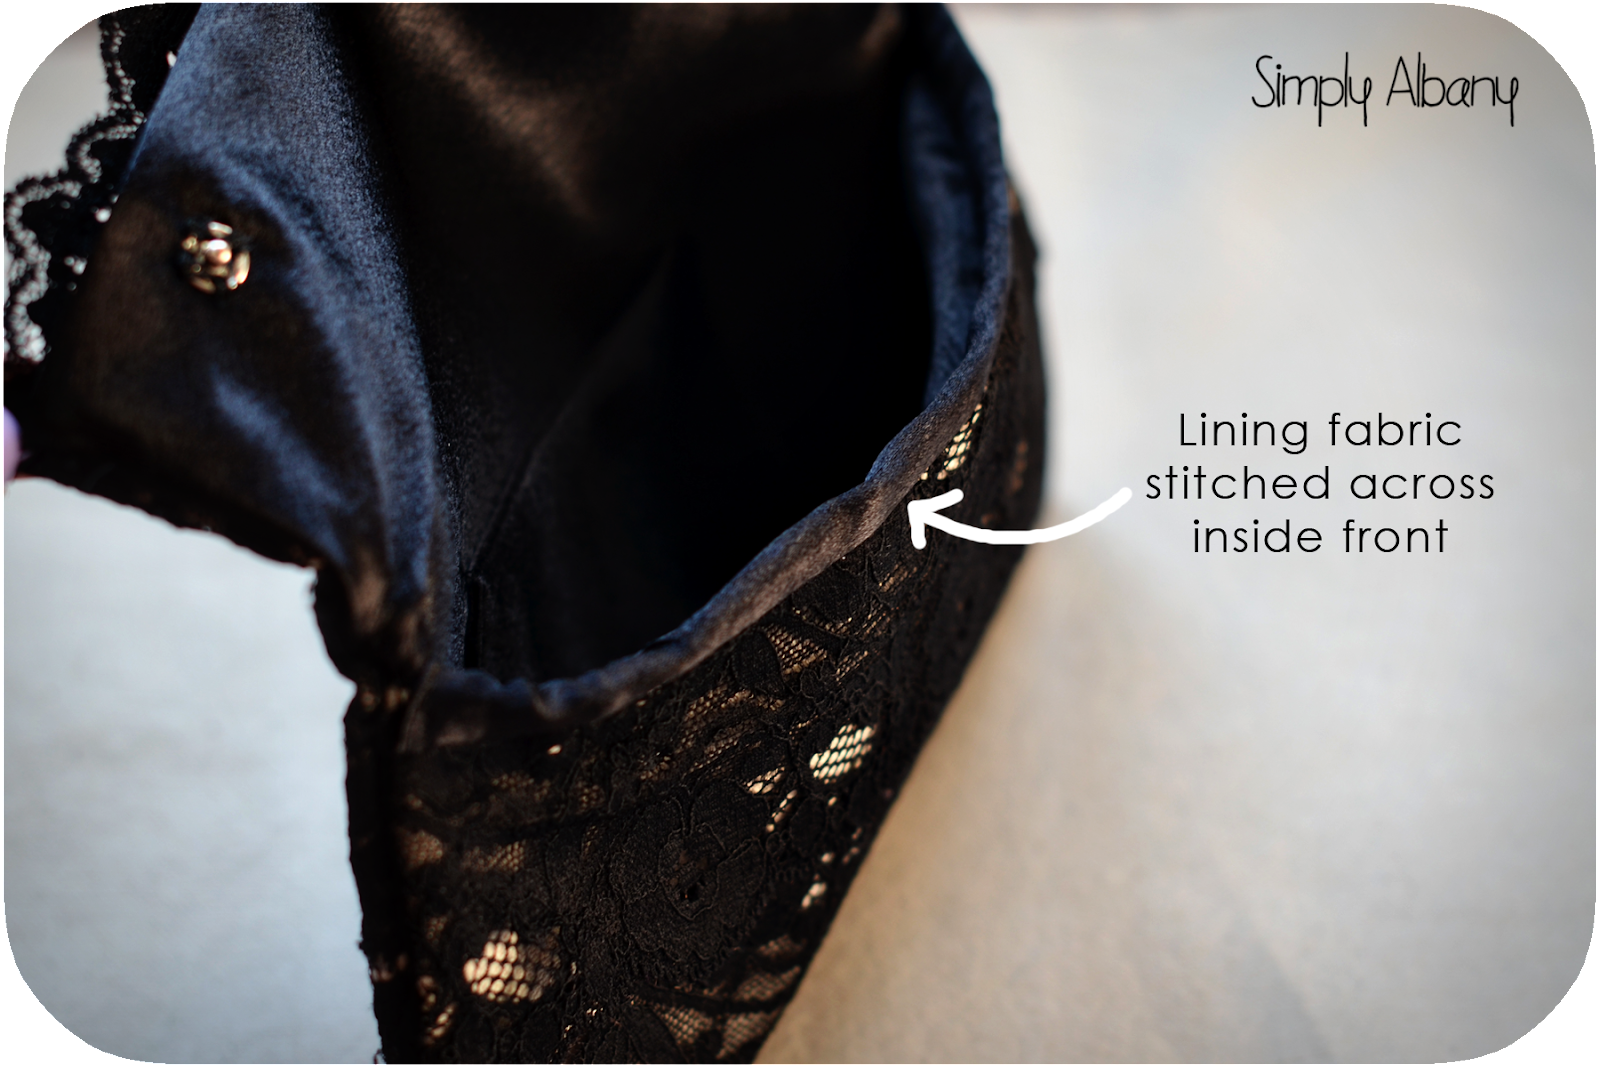
 To make the edge of the bag smooth, I decided to stitch some lining fabric across the inside front of the clutch.


There you have it! A little lace clutch with a pocket and snaps. Hope you like it!


Black Lace Clutch!


Linking up at:


Related Posts Plugin for WordPress, Blogger...